Image Credit: Pixabay under Creative Commons
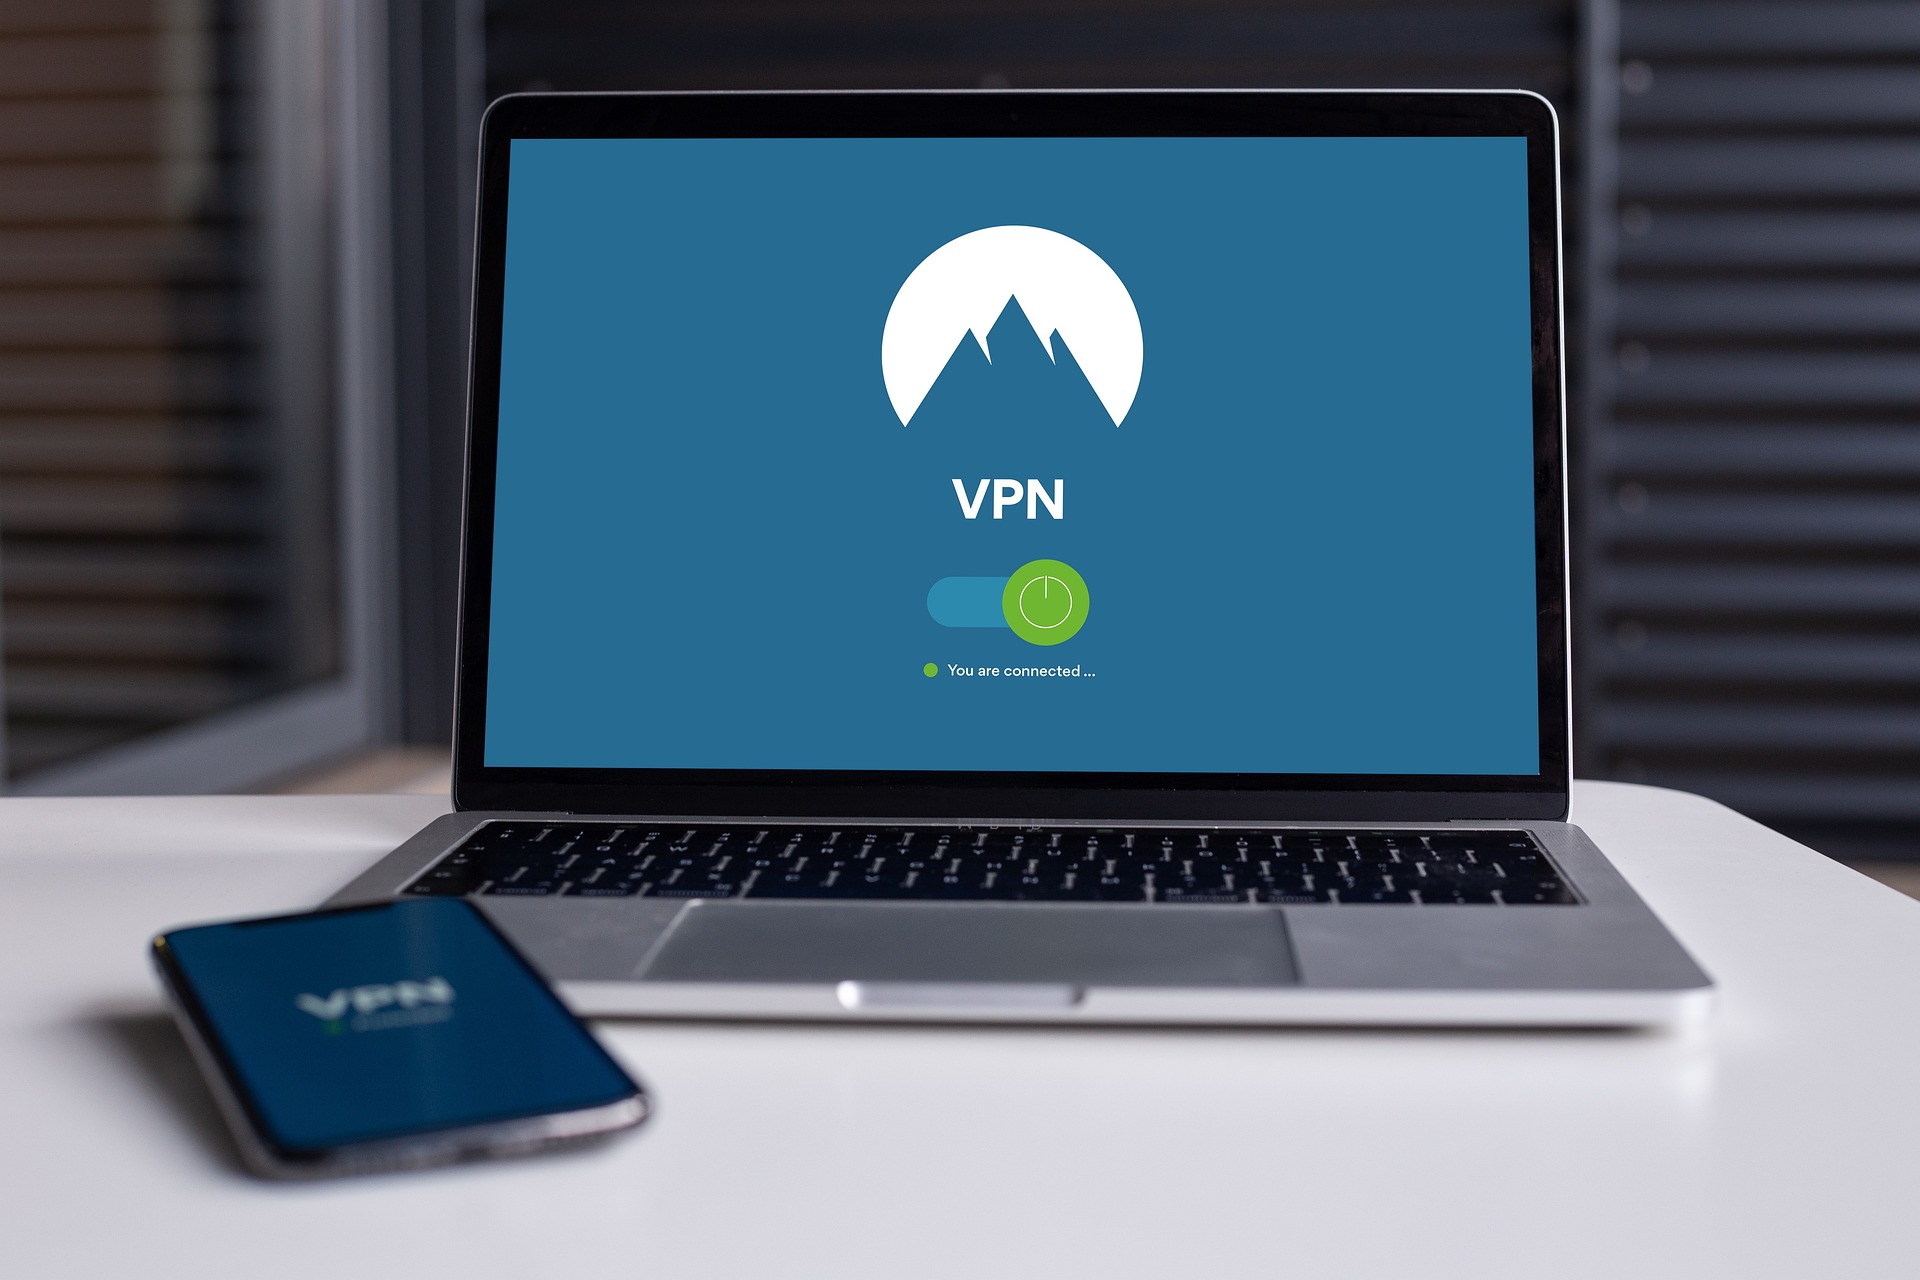
You download an app, click a large neon button, and watch a digital map spin until it proudly highlights a server thousands of miles away. The status changes to “Connected.” You feel instant relief. Your browsing is secure, your real identity is masked, and your ISP can no longer track your digital footprint.
Except, sometimes, that glowing indicator is telling a flat-out lie.
A VPN connection can fail quietly in the background without giving you a single warning notification. The software might claim your traffic is encrypted inside a secure tunnel, while your operating system bypasses that tunnel entirely, spilling your browsing history, physical location, and real IP address to every network observer, website, and tracker you encounter.
This hidden failure state is what privacy professionals call a data leak. If you rely on a virtual private network for circumventing censorship, torrenting safely, or simply keeping your financial habits away from data brokers, a silent leak completely defeats the purpose of paying for the service.
Relying on blind trust is a dangerous strategy when it comes to operational security. Fortunately, verifying the integrity of your encrypted tunnel takes only a few minutes. Here is exactly how to audit your connection, uncover hidden leaks, and fix the underlying configuration issues threatening your digital anonymity.
The Hidden Mechanics of VPN Failures
To understand how to test your connection properly, you need to understand what can go wrong under the hood. A virtual private network works by creating an encrypted point-to-point tunnel between your device and a remote server operated by the provider. All data leaving your device is wrapped in encryption layers before hitting the open internet.
When this system breaks down, it usually happens in one of four ways.
-
IP Address Leaks
This is the most straightforward failure. An IP leak happens when your actual internet protocol address slips past the encrypted tunnel, revealing your geographic location and ISP identity directly to the destinations you visit. This frequently happens during sudden network handoffs—such as when a laptop switches from a wired ethernet connection to Wi-Fi—or if the application fails to correctly rebuild its routing tables after your device wakes up from sleep mode.
-
DNS Leaks
A Domain Name System (DNS) leak is far more insidious. The DNS acts as the phonebook of the internet, translating human-readable web addresses like example.com into numeric IP addresses that computers understand. When a VPN is running perfectly, your DNS requests should travel through the encrypted tunnel to private, zero-log DNS servers managed by your provider.
If your operating system defaults back to your ISP’s standard DNS servers instead, every single website name you look up is logged by your service provider, even if the subsequent traffic remains encrypted. You become completely visible while assuming you are invisible.
-
WebRTC Leaks
Web Real-Time Communication (WebRTC) is a collection of standards and protocols embedded directly inside modern web browsers like Chrome, Firefox, Edge, and Safari. It allows web applications to establish direct, peer-to-peer audio, video, and data channels without installing plugins.
The flaw lies in how WebRTC functions: to establish these rapid connections, the browser must query your local device for its network interfaces. Specialized scripts running on a web page can force your browser to broadcast both your local network IP and your true public WAN IP, completely bypassing the operating system’s global routing rules.
-
IPv6 Leaks
Many internet service providers are actively transitioning from the older IPv4 standard to IPv6, which offers a massively expanded address pool. However, a significant percentage of VPN applications still only tunnel IPv4 traffic. If your network uses native IPv6 and your software doesn’t know how to handle it, IPv4 requests will go through the secure tunnel while IPv6 traffic routes over your naked ISP connection, leaving a gaping hole in your privacy defense.
The Pre-Flight Check: Establishing Your Baseline
You cannot accurately evaluate a masked state without knowing what your unmasked state looks like. Before launching any testing tools, you must establish a clear control baseline by looking at your raw, unprotected internet connection.
Follow this exact operational sequence:
- Terminate your VPN app entirely. Do not just disconnect; close the application completely to ensure its background daemons and virtual network adapters are fully deactivated.
- Open a clean browser window. Ideally, use a private browsing or incognito window with all extensions temporarily turned off to prevent third-party scripts from skewed results.
- Visit a basic IP checking utility. Websites like ipleak.net, dnsleaktest.com, or icanhazip.com work perfectly for this stage.
- Document your findings. Write down or screenshot three specific pieces of information:
- Your current IPv4 address.
- Your current IPv6 address (if your ISP provides one).
- The name and location of your Internet Service Provider.
This data represents your true digital identity. Any test you run later while your privacy software is active must show completely different values. If you ever see these specific numbers pop up during an active session, your connection is compromised.
The Practical Blueprint: Testing for Data Leaks
Now that you have your baseline control values recorded, launch your security application, pick a server located in a completely different city or country, and wait for the connection confirmation indicator to turn green. It is time to run an in-depth audit.
+————————————————————-+
| THE CORE PRIVACY AUDIT FLOW |
+————————————————————-+
| |
| 1. DISCONNECT –> Record True IP & ISP Baseline |
| |
| 2. CONNECT –> Activate Encrypted Tunnel |
| |
| 3. AUDIT IP –> Verify Location & Address Have Changed |
| |
| 4. AUDIT DNS –> Confirm No ISP Servers Are Visible |
| |
| 5. AUDIT WebRTC–> Block Browser-Level Leaks |
| |
+————————————————————-+
Step 1: Verifying IP Masking
With the encrypted tunnel active, reload your chosen IP checking tool. Look closely at the geography displayed on your screen.
- The Success State: The site displays the IP address of the remote server you selected. The country, city, and ISP name match the provider’s infrastructure rather than your home connection.
- The Failure State: If the page still displays your home town or your true provider’s name, the application has failed to rewrite your system’s default gateway. Your traffic is moving over standard, unencrypted lanes.
Step 2: The Extended DNS Leak Test
Simply checking your primary IP address is not enough to confirm total privacy. You must run a focused lookup test to see where your browser sends its translation requests.
Go to dnsleaktest.com and locate the button labeled “Extended Test.” This option forces your browser to run multiple consecutive lookup queries across dozens of distinct domain variations, mapping out every single server participating in the resolution chain.
Let the test run to completion. Examine the resulting table carefully:
| Result Scenario | What You See in the List | Status | Action Required |
| Total Security | Only servers owned by your privacy provider appear, matching the country of your chosen location. | PASS | None. Your lookups are fully contained inside the tunnel. |
| Partial Exposure | A mix of server IPs appears, including some from tech giants like Google or Cloudflare. | WARNING | Your provider is using public resolvers instead of private, zero-log infrastructure. |
| Complete Leak | One or more lines explicitly display the name of your real ISP or your home country. | FAIL | Stop browsing immediately. Your ISP is tracking every site lookup. |
Step 3: Isolating WebRTC Vulnerabilities
WebRTC leaks happen at the browser layer, making them incredibly sneaky. To test for this specific vulnerability, open [browserleaks.com/webrtc](https://browserleaks.com/webrtc) while keeping your secure tunnel active.
Look specifically for the sections labeled Public IP Address and Local IP Address.
The local address is usually an internal non-routable number like 192.168.1.X or a specific local identifier. This is completely normal and safe. However, look closely at the Public IP field within the WebRTC section. If that field displays your true residential WAN IP address from your pre-flight check, your browser is actively undermining your encryption tunnel. Websites can read this value via simple JavaScript queries, bypassing your masking software entirely.
Step 4: Checking the IPv6 Blindspot
If your home router uses native IPv6 configurations, go to test-ipv6.com. This tool analyzes your system’s dual-stack network connectivity.
If the test shows that your IPv4 traffic is successfully routing through an anonymous hosting company while your IPv6 address reflects your exact home connection, you are dealing with an asymmetry leak. This usually happens when an operating system prioritizes IPv6 routing rules over the older IPv4 virtual adapters created by your privacy tool.
Common Testing Mistakes People Make
Auditing your security parameters sounds straightforward, but small procedural errors can lead to false positives, giving you either a clean bill of health when you are exposed, or inducing unnecessary panic over a safe configuration.
Testing While Logged Into Personal Accounts
If you perform an IP lookup test while logged into your personal Google, Apple, or Microsoft accounts, those services already link your current session token to your true real-world identity. They track your physical location using multiple data streams, including device telemetry and historical Wi-Fi triangulation data. Keep your testing windows completely isolated from active browser profiles containing logged-in personal accounts.
Confusing Server Ownership for Leaks
When running an extended DNS test, you might see an infrastructure company name you don’t recognize, like M227, Datacamp, or secondary hosting entities. Do not panic immediately. Most top-tier privacy networks rent server allocations inside premium enterprise data centers across the globe rather than building physical facilities in every single city. Research the hosting provider name listed; you will frequently find it belongs to a secure network hub utilized by your provider.
Ignoring the Effects of Smart Switches
Modern operating systems and smartphones feature aggressive network optimization settings. Features like “Wi-Fi Assist” on iOS or “Switch to Mobile Data” on Android automatically route traffic over your cellular radio if your home Wi-Fi drops for a fraction of a second. If your privacy client does not instantly bind itself to all physical interfaces simultaneously, these brief automated handoffs will leak raw data over cellular towers while the app interface still shows a green checkbox.
Pros and Cons of Testing Methodologies
There are two primary ways to check your connection status: using automated public testing platforms or executing manual validation procedures through your system terminal. Understanding the trade-offs of each approach helps you select the right method for your setup.
Automated Testing Sites (e.g., IPLeak, BrowserLeaks)
Pros:
+ Instant, visual presentation of complex network configurations
+ Requires zero technical familiarity or command-line experience
+ Simultaneously checks for multiple leak types (DNS, WebRTC, IPv6)
Cons:
– You must trust the testing site not to log your data
– Ad-blockers or security extensions can sometimes break the testing scripts
Manual Terminal Auditing (e.g., using nslookup or dig)
Pros:
+ Gives you raw data directly from your system kernel without third-party scripts
+ Eliminates browser-level caching anomalies completely
+ Highly repeatable via simple automation scripts
Cons:
– Requires basic knowledge of command-line tools
– Does not easily catch browser-specific issues like WebRTC leaks
For everyday verification, automated web utilities offer the best balance of depth and accessibility. However, if you are configuring system-wide privacy tools on an open-source operating system or a network router, mastering terminal commands provides an unfilterable window into your true routing pathways.
To run a quick terminal check on a Mac or Linux system, open your terminal and type:
Bash
curl ifconfig.me
This returns the exact public IP address your system kernel is using for outbound web requests. If the string matches your server location, your core operating system traffic is routing correctly.
Best Practices for Maintaining a Leak-Free Connection
Finding a leak during an audit is frustrating, but it allows you to fortify your system against future failures. Implement these high-priority configuration adjustments to transform your software from an optional wrapper into a resilient firewall.
-
Enforce a Strict Kill Switch
Never run a privacy application without an active kill switch enabled. A standard kill switch monitors your connection state; if the tunnel drops unexpectedly due to server congestion or a protocol error, the software instantly blocks all network interfaces from transmitting data.
For maximum security, select a provider that offers a system-level or firewall-based kill switch. This configuration creates persistent local firewall rules that physically prevent your computer from connecting to the open internet unless the data passes directly through the secure virtual adapter.
-
Disable WebRTC at the Core
Because WebRTC leaks occur due to browser design decisions rather than network errors, the safest path is to adjust your browser configurations directly.
- In Firefox: Type about:config into the URL address bar, accept the warning, search for media.peerconnection.enabled, and double-click it to toggle its value to false.
- In Chromium-based browsers (Chrome, Edge, Brave): Chromium does not offer a native built-in flag to turn off WebRTC completely without breaking other features. Install a trusted open-source extension such as WebRTC Leak Shield or uBlock Origin, and enable the setting to prevent the exposure of local IP addresses.
-
Transition to the WireGuard Protocol
Older tunneling frameworks, such as PPTP or L2TP, are prone to connection drops and lack modern error-handling capabilities. Where possible, configure your applications to use WireGuard.
WireGuard is an extremely lean, modern open-source tunneling protocol that runs directly inside the operating system kernel space. It handles network handoffs between cellular towers and home Wi-Fi networks almost instantly, reducing the risky reconnect windows where silent leaks usually happen.
+————————————————————-+
| TUNNEL PROTOCOL PROFILE |
+————————————————————-+
| |
| [ WIREGARD ] –> Kernel-level speed, near-instant |
| reconnection handoffs. Minimal attack |
| surface (~4,000 lines of code). |
| |
| [ OPENVPN ] –> Highly customizable, excellent at |
| bypassing strict firewalls. Slower |
| recovery during network drops. |
| |
+————————————————————-+
-
Hardcode Secure DNS Servers
If your application allows custom network configurations, bypass your operating system’s automatic adapter assignments by manually configuring your DNS settings. You can hardcode your system to route lookup queries through privacy-focused, non-logging entities such as Quad9 (9.9.9.9) or Cloudflare’s privacy initiative (1.1.1.1). This provides an extra safety net if your application crashes while leaving your network card active.
Frequently Asked Questions
Why does my real location show up on maps even with a green connection status?
This occurs because modern laptops, tablets, and smartphones rely on multiple location tracking systems beyond your IP address. If your device has an active GPS chip or uses HTML5 Geolocation API services, it looks at nearby Wi-Fi network names (SSIDs) to calculate your exact coordinates. Your browser then shares this hardware location data directly with the web page, bypassing your remote network connection. Turn off location permissions inside your browser settings to fix this.
Can an active leak happen on an iPhone or Android device?
Yes. Mobile operating systems frequently experience leaks during transitions between cellular data towers and local Wi-Fi networks. Additionally, certain operating systems occasionally exempt native system applications (like push notification services or system updates) from third-party routing configurations, allowing small packets of metadata to travel over your naked ISP connection.
How often should I run a connection test?
You should run a quick audit whenever you connect to a new or untrusted network infrastructure, such as public airport Wi-Fi, hotel routers, or a new cellular hotspot. If you leave your device running constantly at home, performing an audit once a week or immediately after installing any system update is an excellent maintenance habit.
Does using a browser extension VPN protect my whole computer?
No. A browser extension is not a full-system virtual private network; it is simply an encrypted proxy server that only protects data moving inside that specific browser app. If you run a torrent client, an email app, or a video game in a separate window, those applications will continue to route data over your standard, unmasked home network. For system-wide security, always use a dedicated standalone desktop or mobile application.
My DNS test shows a location in my country, but a different city. Is this a leak?
If the DNS server listed belongs to your true internet provider, it is a definitive leak. If the server belongs to an independent data center or a security company and does not reveal your real name or residential IP address, it is likely a regional routing optimization choice made by your software provider to deliver faster lookups.
Verifying True Anonymity
True privacy online is not a product you can buy, unwrap, and forget about. It is an ongoing practice of configuration management and validation. A premium application is only as secure as the system rules it creates on your local hardware.
By taking five minutes to establish your baseline data, performing extended DNS tests, and closing browser-level blindspots like WebRTC, you take control of your network security. Do not rely on color-changing dashboard buttons to protect your personal details. Run regular manual audits, confirm your encryption boundaries, and browse with the confidence that comes from verifiable technical accuracy.

